Getting Started
From zero to animated in minutes. No install. No drama. Just sign in and go.
What You Need
A modern browser. That's it. No downloads, no plugins, no thirty-step installer that asks if you really want to set Bing as your default search engine.
- Chrome or Edge — recommended for the best experience (native OS file dialogs)
- Firefox or Safari — fully supported with traditional upload/download
- Google sign-in — a Gmail account is required to use the app
- No install — it runs in your browser, right now
Chrome and Edge give you native OS file dialogs via the File System Access API. You get real "Save As" dialogs, smart filename suggestions, and the whole desktop-app feel. Firefox and Safari work perfectly too — they just use traditional upload/download.
Supported File Formats
We don't gatekeep formats. If the 3D world uses it, we probably load it.
| Format | Extension | Use Case |
|---|---|---|
| GLB / GLTF | .glb .gltf |
Your main format. Models + textures + animations + skeleton, all in one file. |
| FBX | .fbx |
Models and animations. Load FBX characters directly or import Mixamo animations for retargeting. |
| VRM | .vrm |
VRoid Studio and Ready Player Me avatars with spring bones + expressions. |
| BVH | .bvh |
Motion capture data — the CMU database has 2,500+ free clips. |
Loading Your First Model
Three clicks. No config files. No YAML incantations. Just you and your model.
- Click Load Model in the header bar It's the big obvious button up top. You can't miss it. We designed it that way on purpose.
- Pick a GLB, VRM, FBX, or GLTF from your machine Your OS file dialog opens (or a standard file picker if you're on Firefox/Safari). Select your model and let it rip. Most generative 3D platforms like Meshy, TripoAI, and Ready Player Me export as GLB or FBX — both work.
- The camera auto-frames your character — you're ready to go The viewport zooms to fit your model at a comfortable distance. Bones are visible, the skeleton is mapped, and you're in business.
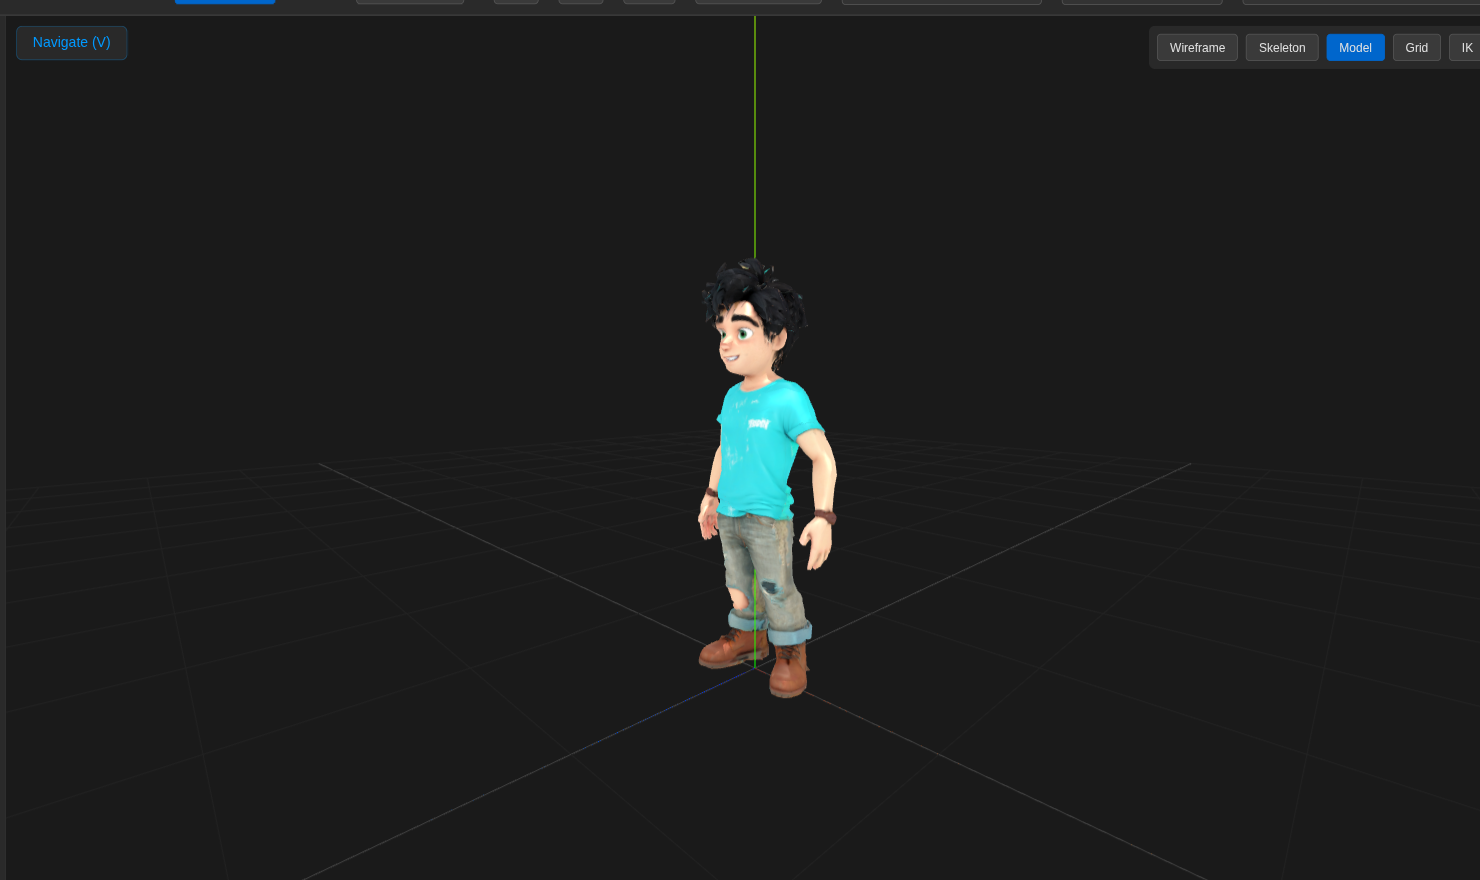
Models from Meshy3D TripoAI RPM VRoid and Character Creator are all auto-detected. The app knows what platform your model came from and configures itself accordingly — bone naming, scale, axis orientation, the works.
Navigating the Viewport
Standard 3D viewport controls. If you've ever used Blender, Maya, or basically any 3D app in the last two decades, you already know this.
| Action | Mouse | Touchpad |
|---|---|---|
| Orbit | Left-click + drag | Two-finger drag |
| Pan | Right-click + drag | Shift + two-finger drag |
| Zoom | Scroll wheel | Pinch |
Understanding the Interface
Five areas. That's all. We kept it tight so you spend time animating, not hunting for buried menus.
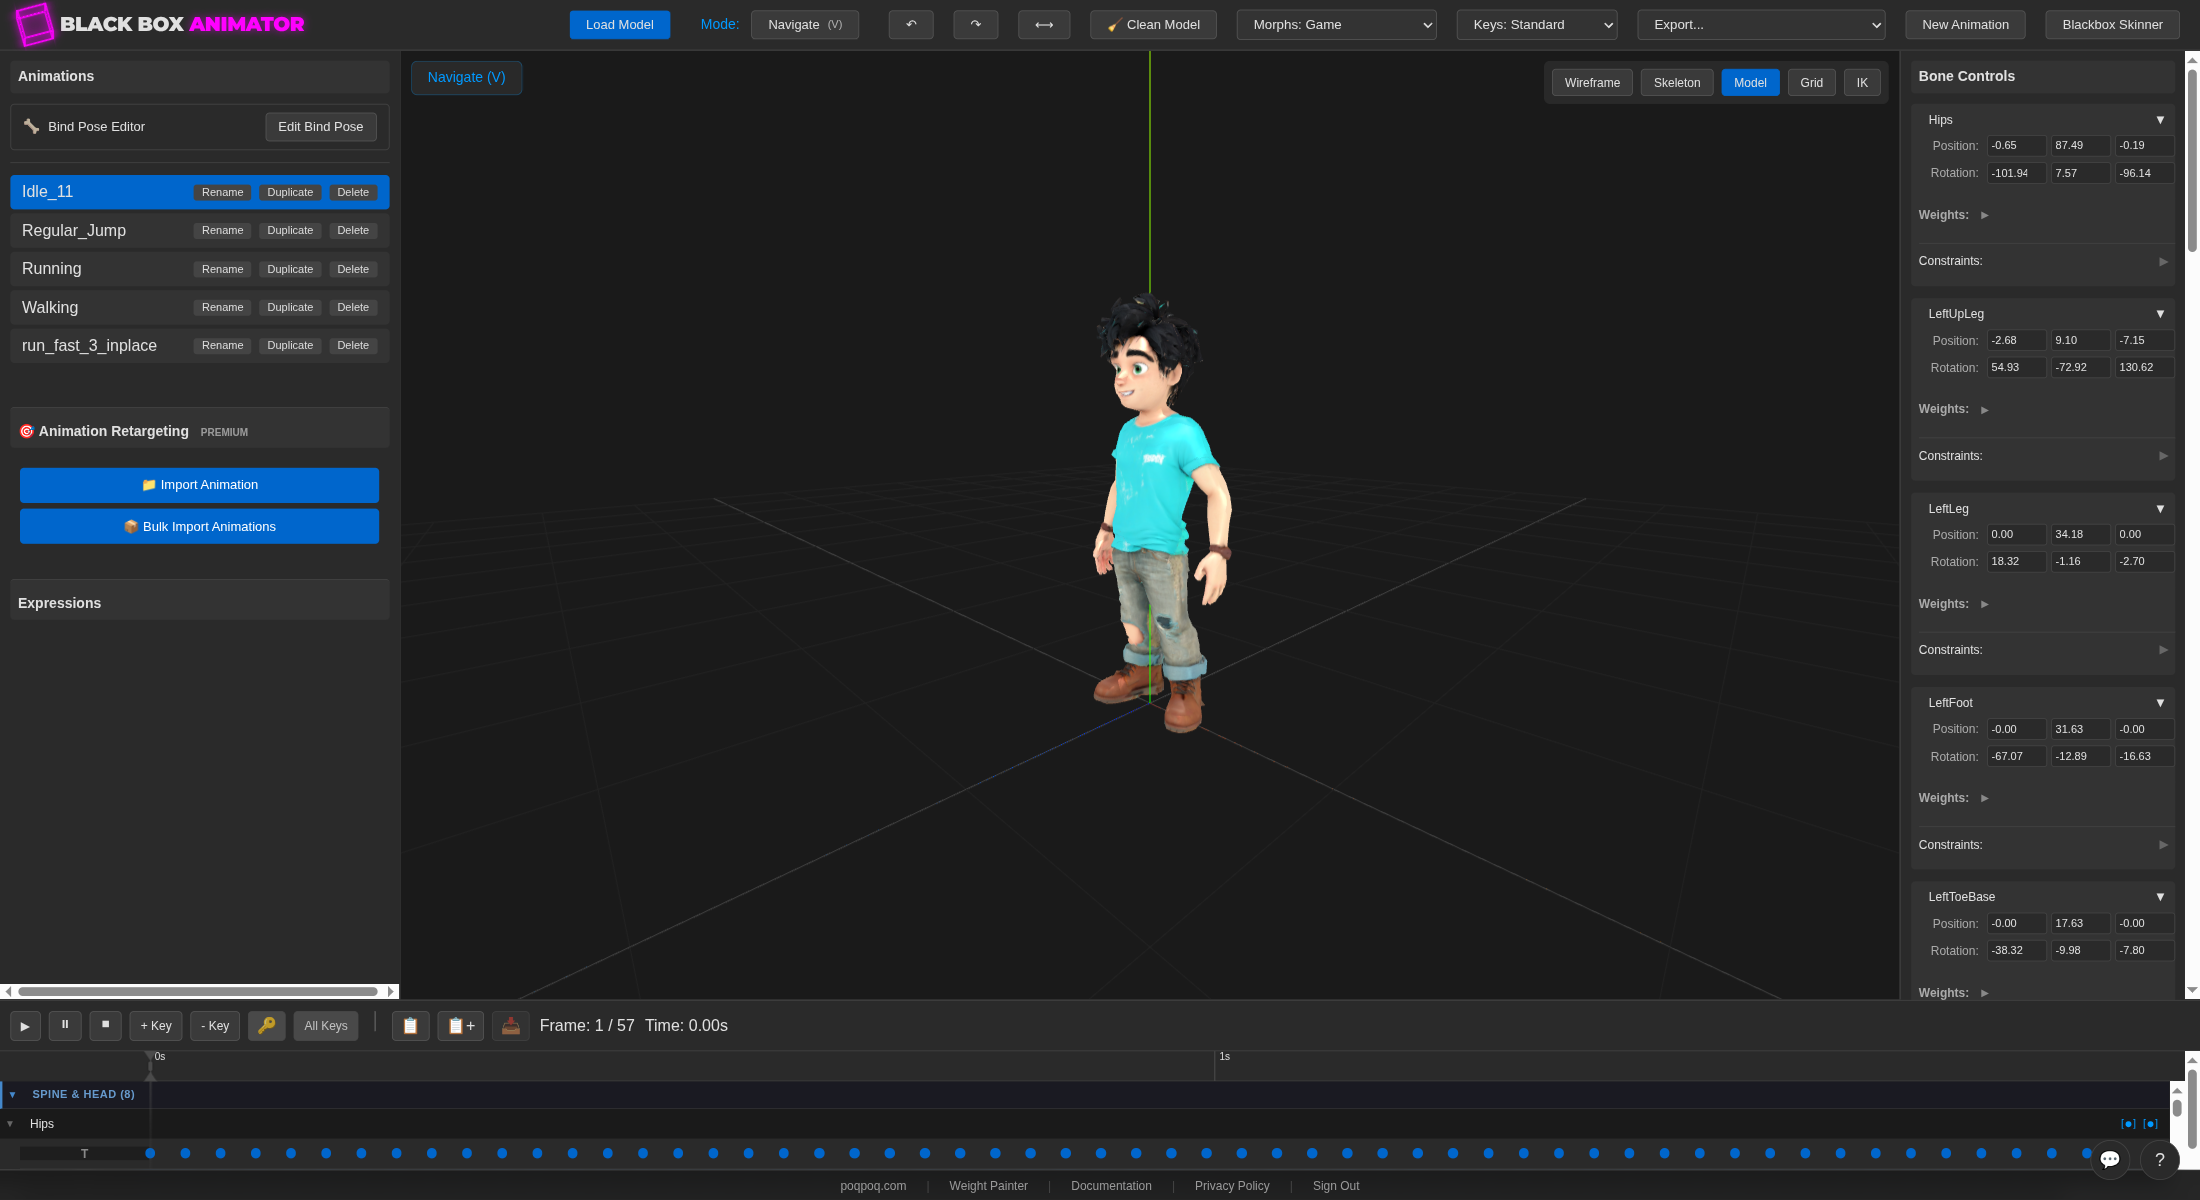
- Header bar — mode selector, model and animation actions, export profiles. Mission control.
- Left panel — your animation library, retargeting tools, bind-pose editor, expressions.
- 3D viewport — the canvas. Character, bones, IK targets, axes, gizmos.
- Right panel — bone-by-bone position, rotation, weights, and constraints for whatever's selected.
- Timeline — playback, keyframe tracks, scrub bar, copy/paste tools.
1. Header Bar

The mode selector cycles through Navigate (V), Select (S), Rotate (R), and Translate (T) — plus toggles for IK and bind-pose editing further in. Load Model opens the file picker. Undo (Ctrl+Z) and Redo are next to it. Clean Model strips deduplicated geometry and zeroed morph targets in one click. The two dropdowns — Morphs: Game and Keys: Standard — control which export profile your model bakes into when you ship it. Export… opens the export menu.
2. Left Panel
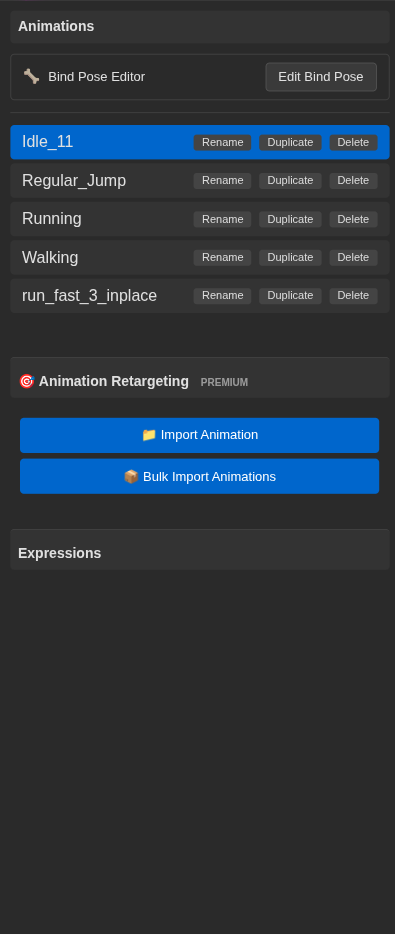
Four stacks live here, each independently scrollable:
- Animations — every clip the model has loaded. Click to switch active clip; rename, duplicate, or delete inline.
- Bind Pose Editor — one-click access to fix a model's rest pose if its T- or A-pose is off-axis.
- Animation Retargeting — Import Animation for a single Mixamo FBX or BVH file; Bulk Import Animations for a folder of clips at once. Full retargeting walkthrough →
- Expressions — collapsible section that lights up when the model has VRM expressions or morph targets.
3. 3D Viewport
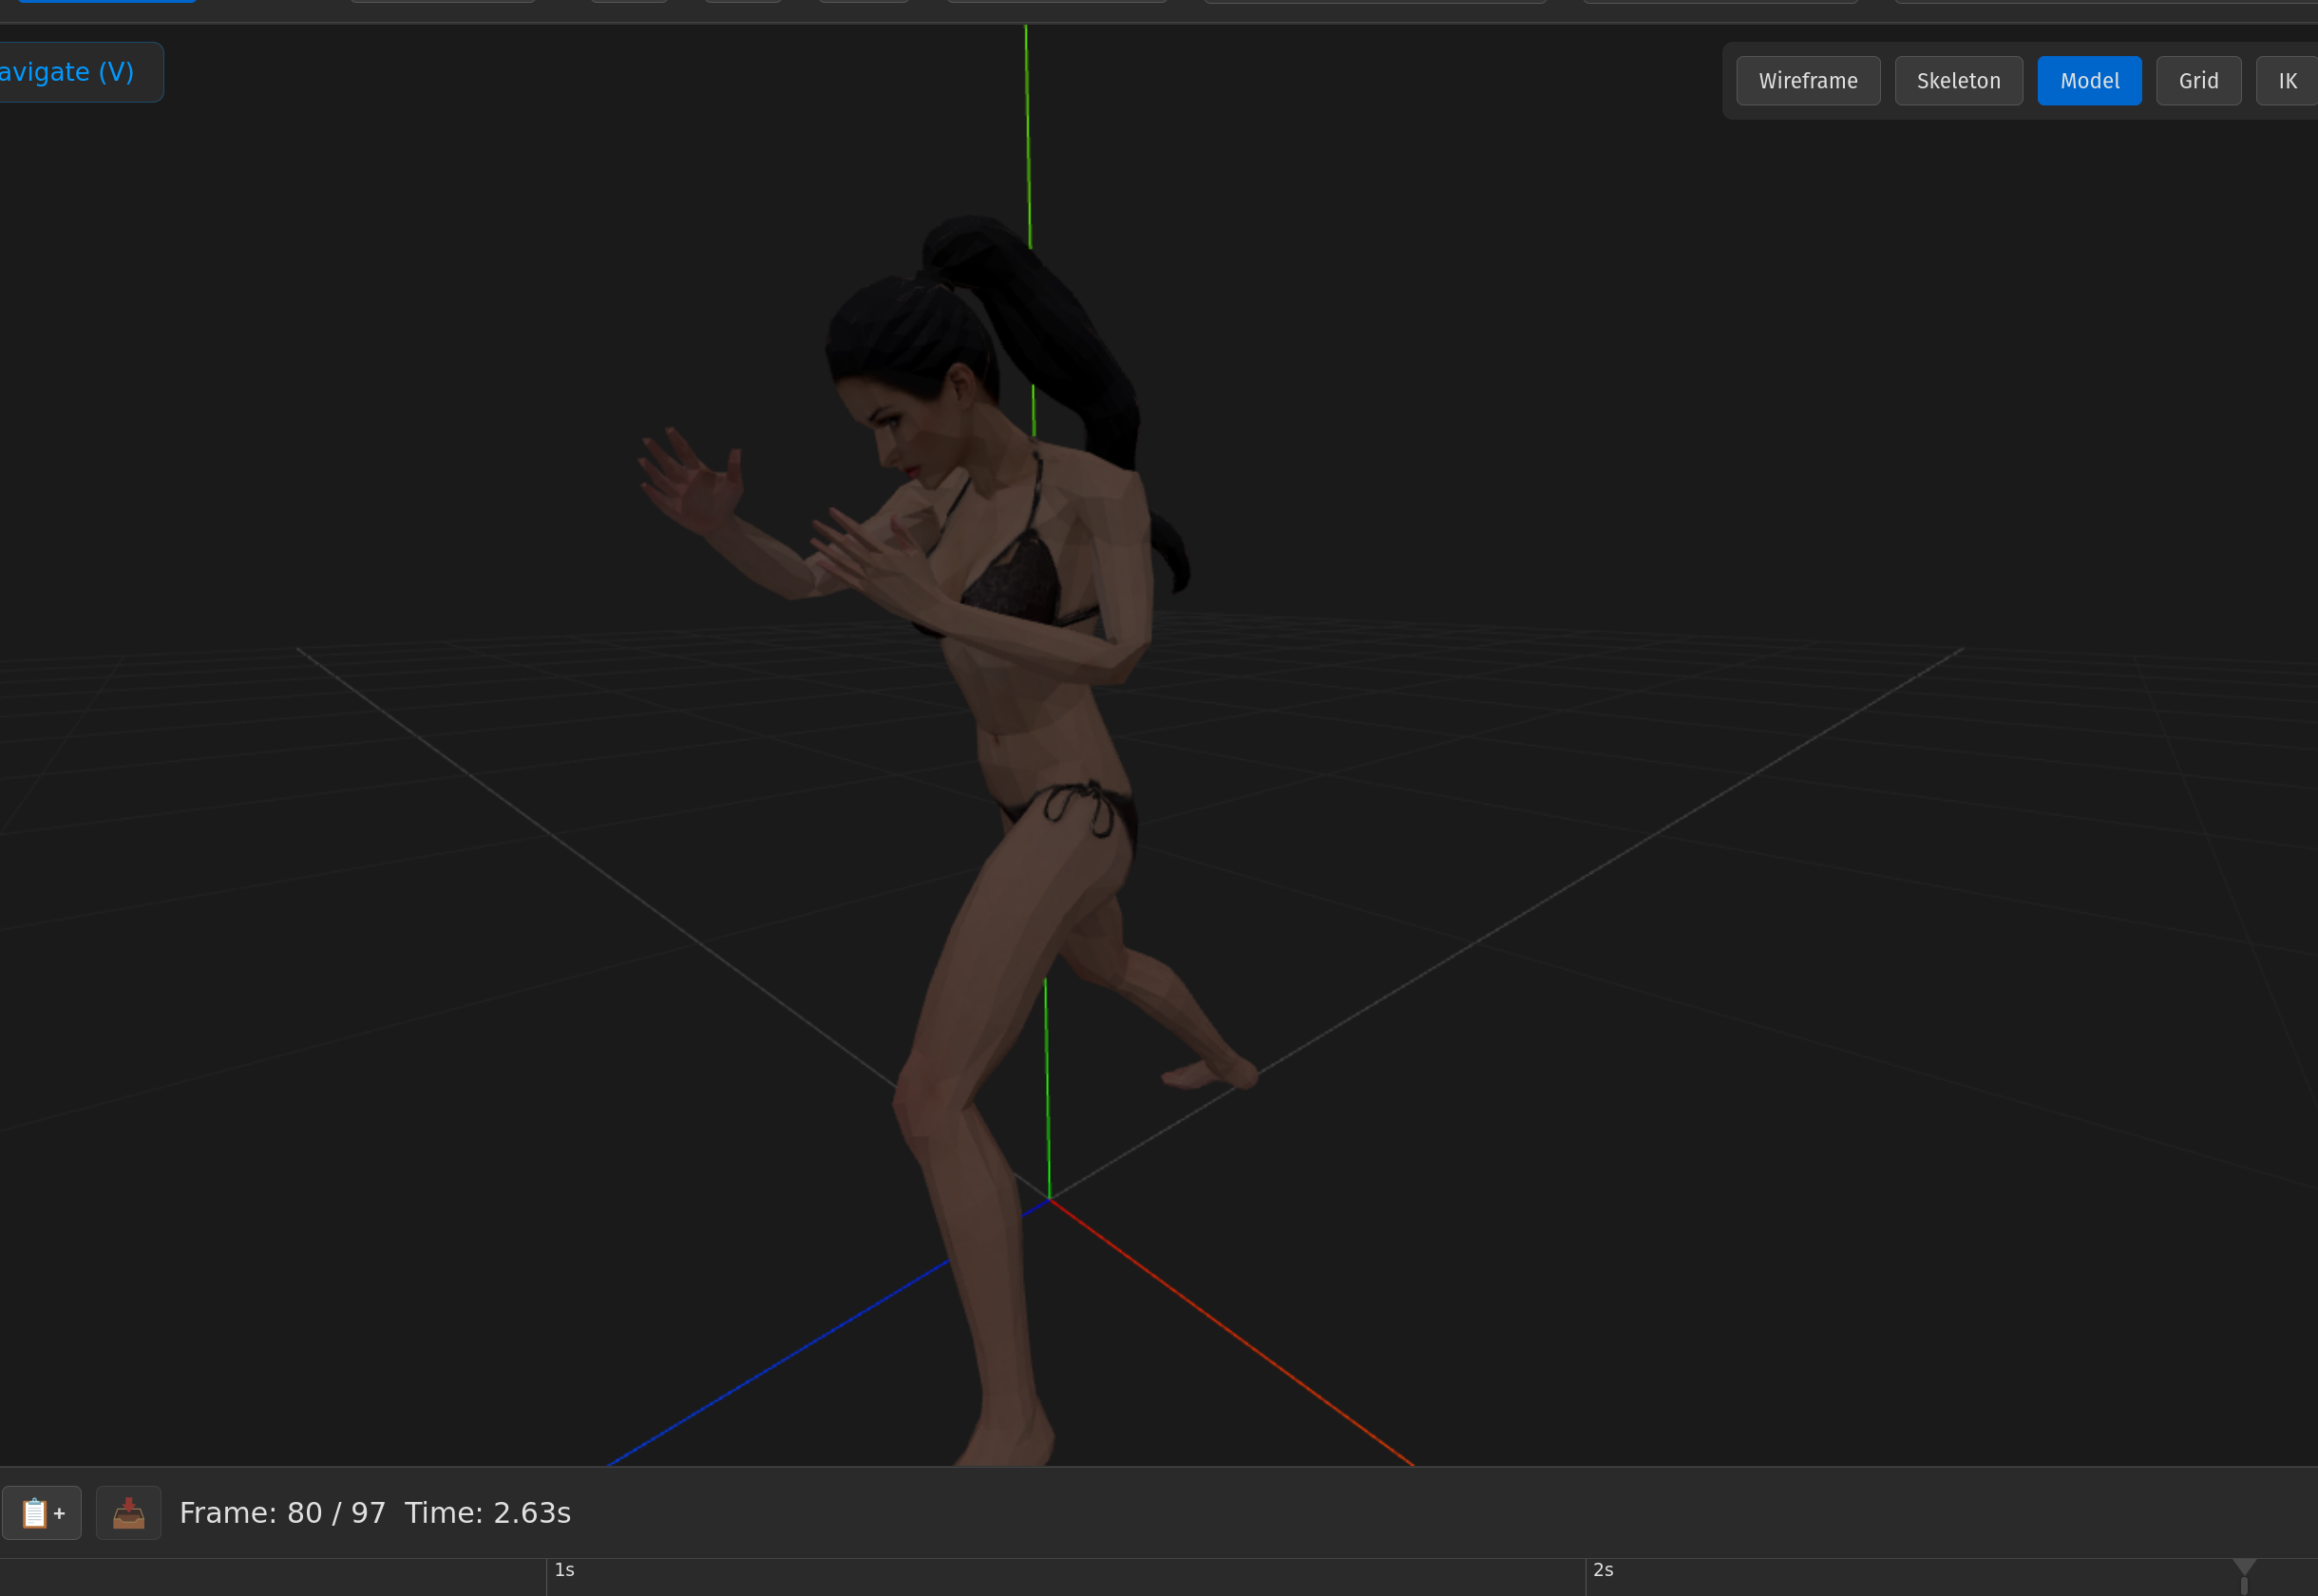
Where the work happens. The toggles in the upper-right corner switch how the mesh renders without changing any data: Wireframe shows just the polygon edges, Skeleton overlays the bones, Model (default) renders the textured mesh, Grid hides or shows the floor grid, and IK reveals the IK target gizmos for grab-and-drag posing.
4. Right Panel
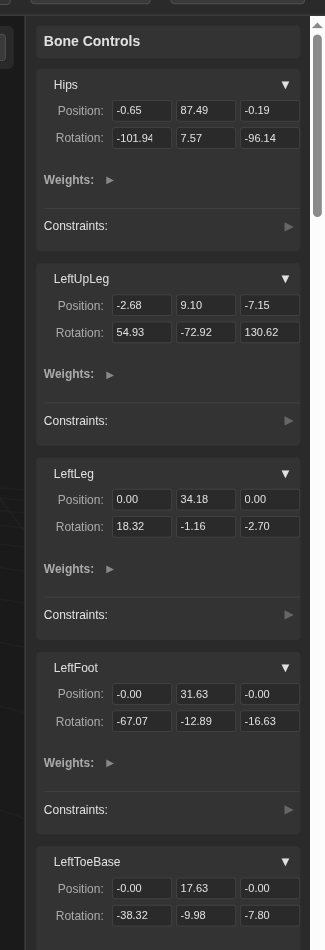
Per-bone properties for whatever's selected. Each bone row exposes:
- Position — x, y, z values, editable directly
- Rotation — x, y, z Euler angles, editable directly
- Weights — influence on neighbouring vertices (read-only here; edit in Skinner)
- Constraints — biomechanical limits in IK mode (X/Y/Z min & max). More on constraints →
5. Timeline

Playback (▶ ⏸ ⏹) on the far left, then keyframe tools: + Key sets a keyframe at the current frame, - Key removes one, All Keys sets keys on every visible track, the clipboard pair copies and pastes keyframe state, and the frame counter on the right shows where the playhead is. Drag the playhead anywhere along the ruler to scrub.
Your First Animation Edit
Time to break stuff. (Not really — but that energy is encouraged.)
- Press S to enter Select mode, then click a bone Try an arm. Arms are satisfying. The selected bone highlights and the right panel shows its properties.
- Press R to enter Rotate mode You'll see RGB rotation rings appear around the selected bone — red for X, green for Y, blue for Z.
- Drag a ring to rotate the bone The character moves! The skeleton follows! You're animating! It's that simple.
- Check the Autokey button in the timeline If it's on (highlighted), keyframes are created automatically as you pose. If it's off, you're just noodling — which is also fine. Noodling is underrated.
- Move the playhead, pose again, and hit Play Jump to a different frame on the timeline, create a new pose, then smash that play button. Congratulations — you just made an animation. From scratch. In a browser.
Ctrl+Z undoes everything. Seriously, everything. Rotation? Undone. Deleted keyframe? Restored. Existential regret? Well, that one's on you — but the animation stuff is fully covered. Go wild.
What's Next
You've got the basics. Now pick your path. Each of these is a deep dive into a core feature that'll level up your workflow.
Animation Retargeting
The fastest way to animate. Import a Mixamo FBX or BVH mocap file and it just works — bones mapped, axes aligned, zero manual setup.
Learn retargeting →Forward Kinematics
The traditional approach. Master bone-by-bone rotation for precise, hand-crafted animation. Full control, no shortcuts, pure craft.
Master FK →Inverse Kinematics
Grab and drag. Let the solver figure out the joints. Biomechanical constraints keep everything anatomically correct while you focus on the pose.
Explore IK →