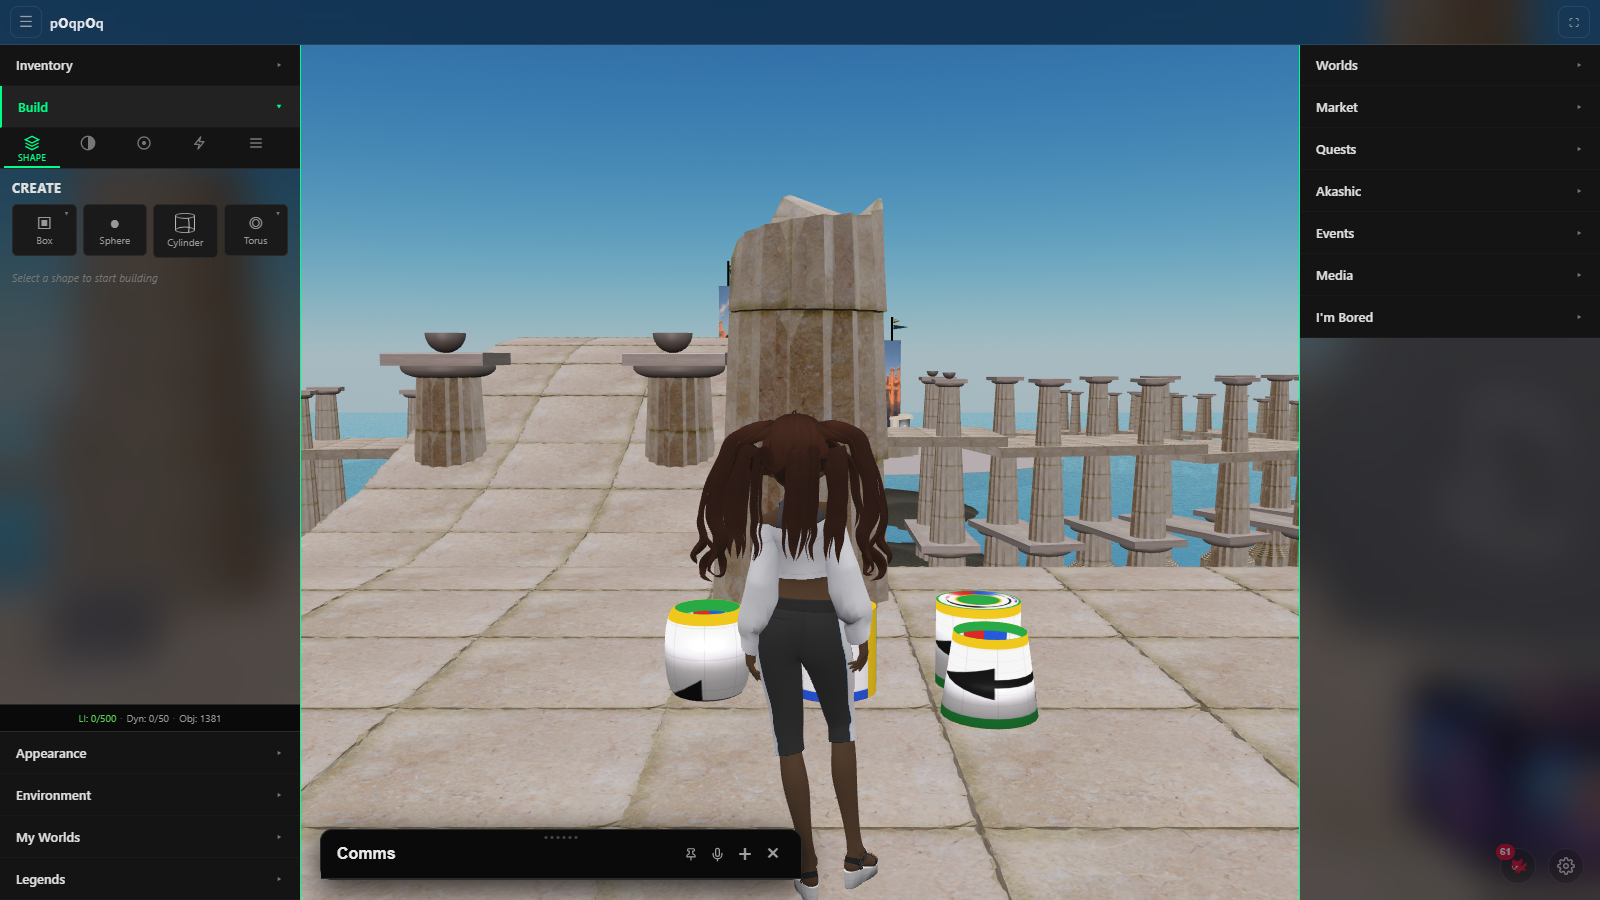
Build Panel: The Creator Toolkit
Five tabs, zero clutter. Everything you need to shape, paint, animate, and protect your creations -- organized by what you want to do, not how the engine works.
The Build Panel is your primary tool for creating objects in poqpoq World. Construction uses a prim-based system familiar to builders from Second Life and OpenSimulator. It is organized into five tabs, each focused on a different part of the creative process. You will spend most of your time in the first two -- Shape and Look -- but the others are there when you need finer control over physics, scripting, or permissions.
Every change you make saves automatically. There is no Save button to forget about. A small indicator in the tab bar shows you when changes are being saved, so you always know your work is safe.
The Five Tabs
The tab bar sits at the top of the Build Panel and is always visible. Each tab groups controls by what you are trying to accomplish rather than by technical category.
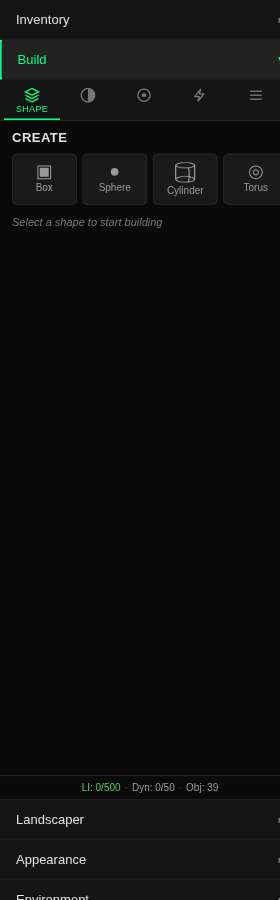
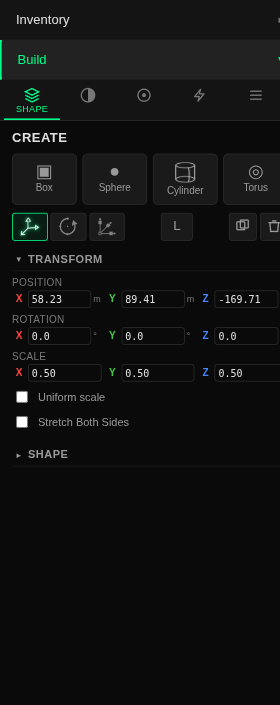
Shape -- "Make it and place it right"
This is where every build starts. Choose a primitive shape from the palette, set its dimensions, and click in the world to place it. Once an object is selected, this tab switches to Transform mode where you can move, rotate, and scale with precision.
- Shape palette -- Pick from seven parametric primitives: Box, Prism, Sphere, Cylinder, Torus, Tube, and Ring.
- Dimension sliders -- Width, height, and depth with meters displayed.
- Gizmo modes -- Switch between Move, Rotate, and Scale with one click.
- Precision inputs -- Type exact X, Y, Z values for position, rotation, and scale. Color-coded axes (red, green, blue) match the 3D gizmo.
- Snap toggle -- Align objects to a grid for clean, even builds.
- Uniform scale -- Lock proportions so objects scale evenly in all directions.
- Duplicate and Delete -- Copy an object or remove it. No hunting for keyboard shortcuts.
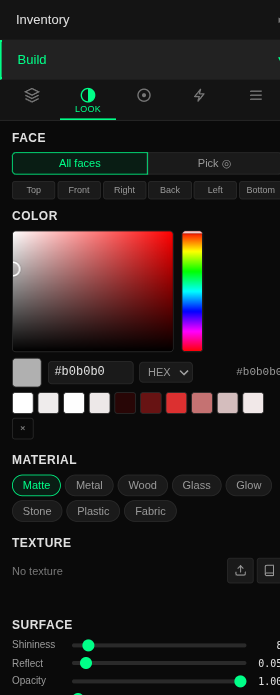
Look -- "Make it look good"
Color, material, and texture -- everything that controls how your object appears. The color picker gives you full control over hue, saturation, and brightness. Material presets let you jump straight to a look with one click.
- Color picker -- A full HSV square with hue strip, opacity slider, hex input, and recent color swatches.
- Material presets -- One-click looks: Matte, Metal, Wood, Glass, Glow, Stone, Plastic, Fabric. Presets tint your current color -- red + Metal gives you red metal, not grey.
- Roughness and Metallic -- Fine-tune how shiny or matte a surface is.
- Advanced options -- Emissive glow for signs and lamps, opacity for transparent objects, and double-sided surfaces.
- Per-face editing -- Click individual faces to paint them separately. See the Per-Face Texturing guide for details.
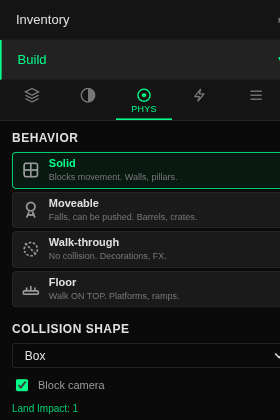
Phys -- "Make it behave physically"
Controls how your object interacts with the world -- whether avatars bump into it, walk on top of it, pass right through it, or push it around. Most of the time the system picks the right setting for you.
- Behavior cards -- Choose Solid, Moveable, Walk-through, or Floor. Each card explains what it does in plain language.
- Collision shape -- The invisible boundary used for physics. Usually matches the shape you built.
- Camera blocking -- Toggle whether the camera can see through the object or bumps off it.
- Land Impact display -- See how much of your build budget this object uses. More details in Physics & Land Impact.
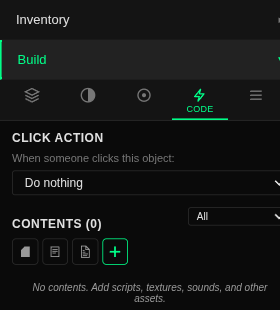
Code -- "Make it do something"
Give your objects behavior. Set what happens when someone clicks them, attach scripts for complex interactions, or add media to turn a surface into a screen.
- Click action -- Choose what happens on click: show info, sit the avatar, open a web link, play a sound, teleport, or run a script.
- Scripts -- Attach scripts for advanced behavior. A scripted door can open on touch, a treasure chest can award items, a sign can change its text.
- Media -- Play video, audio, or embed a web page on any face. See the Media on Prims guide.
- Contents -- Objects can contain other items inside them, like a chest holding loot.
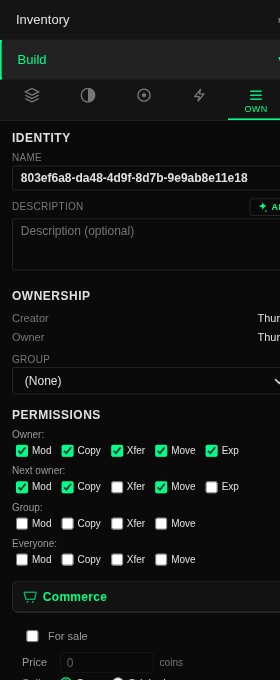
Own -- "Control who can touch it"
Name your creation, describe it, and decide who gets to modify, copy, or move it. If you want to sell it, the commerce controls are here too.
- Name and description -- Give your object an identity. These appear when others inspect it.
- Ownership -- See who created and currently owns the object.
- Permissions -- Control what the next owner, your group, or everyone can do: modify, copy, or move.
- Commerce -- Mark an object for sale, set a price, and choose whether buyers get a copy or the original.
- Lock -- Prevent accidental edits. A locked object shows a lock icon in the world and cannot be moved or changed until unlocked.
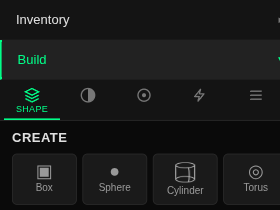
Available Shapes
The CREATE palette shows four cards: Box, Sphere, Cylinder, and Torus. Two of them hold more shapes behind a small ▾ arrow in the card's corner: the Box card opens to reveal Prism, and the Torus card opens to reveal Tube and Ring -- seven parametric primitives in all. Every one of them supports the full deformation set (hollow, twist, taper, cuts and more) described in Advanced Shapes.
There is no separate shape for walls, floors, or furniture -- those are just boxes and cylinders with the right dimensions. Physics behavior (solid, walkable floor, walk-through) is set on the Phys tab, and the system picks a sensible default for every new shape.
Building Workflow
The typical workflow for creating something in poqpoq World follows a natural sequence. You do not have to follow these steps in order, but most creators find this flow productive.
- Pick a shape from the Shape tab palette. Set the dimensions you want -- width, height, depth -- then click in the world to place it.
- Position it using the gizmo. Drag to move, switch to Rotate or Scale mode as needed. Turn on snap for clean alignment.
- Paint it in the Look tab. Pick a color, choose a material preset, or apply different colors to individual faces.
- Set physics in the Phys tab if the defaults are not what you need. Most objects work fine with the automatic setting.
- Add behavior in the Code tab. Set a click action, add a script, or put media on a face.
- Name and protect in the Own tab. Give it a name, set permissions, lock it against accidental edits.
Auto-Save
Every property change saves automatically. There is no Save button anywhere in the Build Panel. When you adjust a color, move a slider, or type a new name, the change is saved within a moment or two.
The Budget Bar
At the bottom of the Build Panel, a budget bar is always visible regardless of which tab you are on. It shows your current Land Impact usage -- how many objects you have placed and how much capacity remains.
The bar changes color as you build: green when you have plenty of room, amber as you approach the limit, and red when you are nearly at capacity. This gives you a constant, at-a-glance sense of how much more you can build before needing to optimize.

For a deeper explanation of how Land Impact works and how to stay efficient, see the Physics & Land Impact guide.
Builder Tips
- Use Duplicate to copy an object you have already set up. The copy keeps all its colors, materials, physics, and permissions.
- Hold Shift while dragging a slider for finer precision -- ten times more precise than normal dragging.
- The mouse wheel works on number inputs. Hover over a value and scroll to nudge it up or down.
- Lock finished objects in the Own tab so you do not accidentally move them while building nearby.
- Material presets modify your current color, not replace it. Choose a color first, then apply a preset.
- If you are building a walkable area, set the object's behavior to Floor in the Phys tab -- avatars can then stand and walk on it.